On this page
Final Assembly
Materials
| Quantity | Description |
|---|---|
| 1 | Tested Bus Pirate 5 PCB assembly |
| 1 | Enclosure |
| 1 | Button cap |
| 4 | M3x8mm DIN7991 bolts |
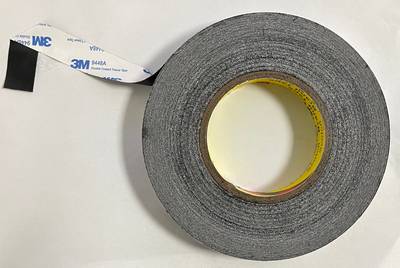
| 2cm | Double-sided tape |
- Finger gloves to avoid smudging the LCDs
Final assembly
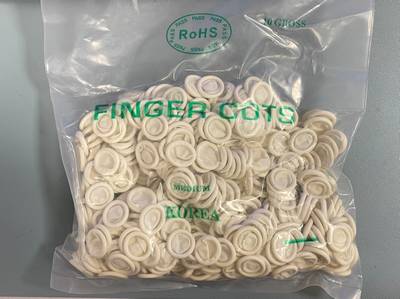
Finger gloves on!
Cut 3CM of 3M 9488A
Tape LCD flex PCB
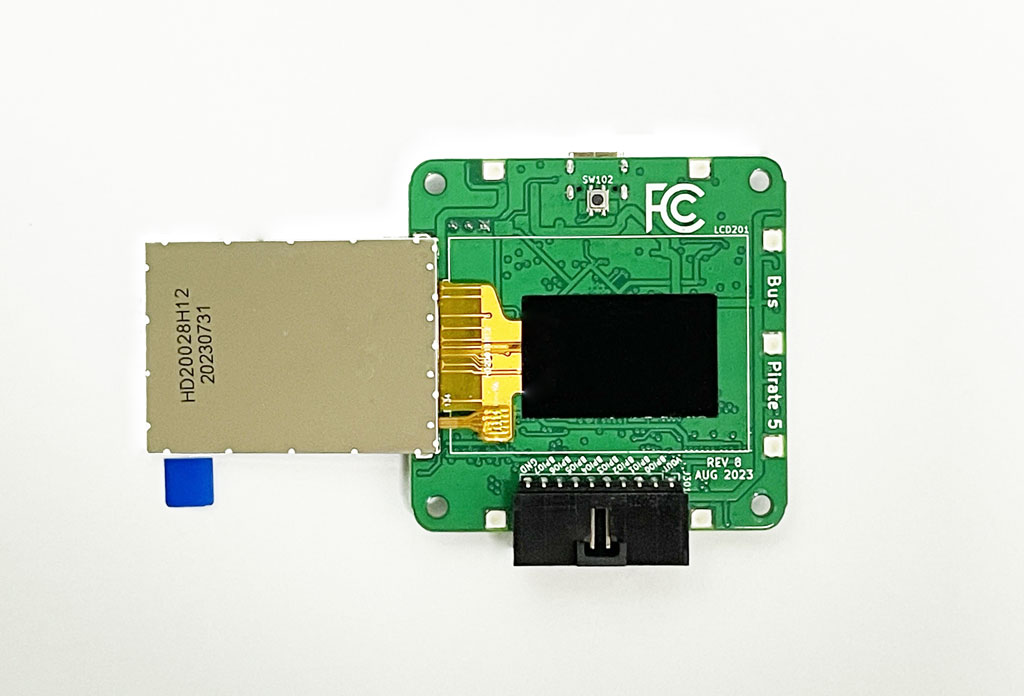
Secure the LCD

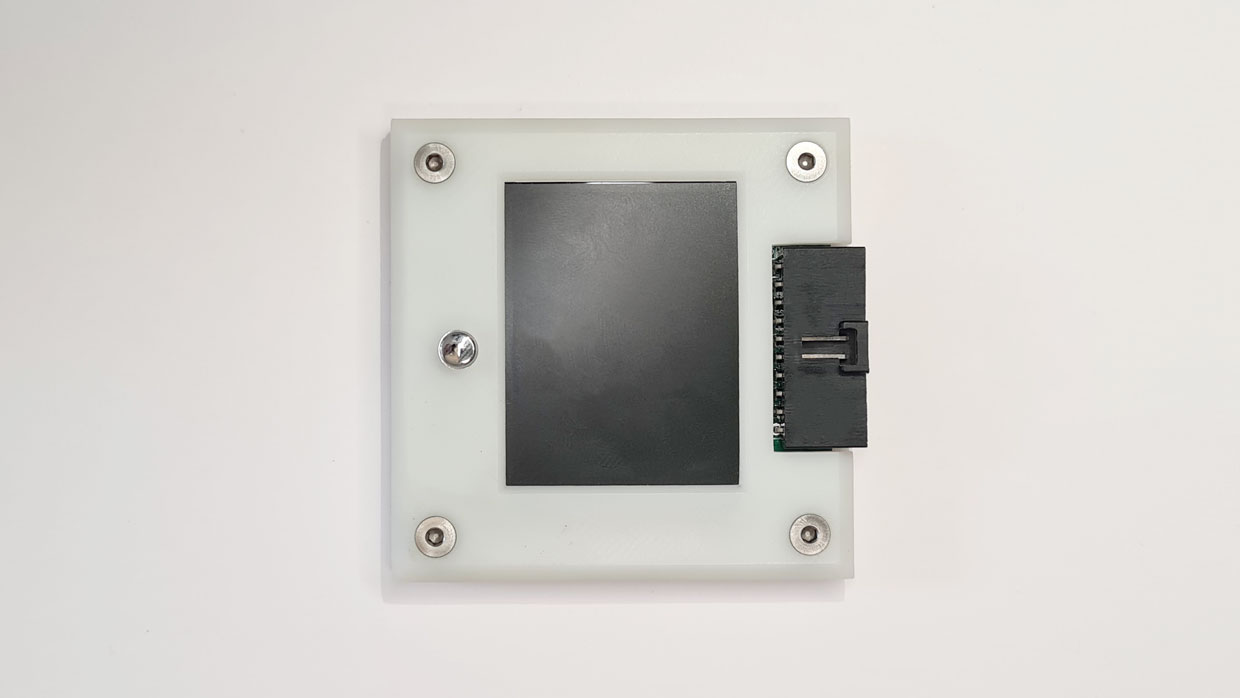
Place board into enclosure base
Angle the board to slide the USB and programming connectors in place first. Now the board should sit flush with the bottom shell.
Remove LCD protector
- Peel the blue tab
Place button cap into enclosure top
- Silver button
Place base on the top
- Device wil be upside down
Flip and secure with bolts
Not too tight, don’t crack the case or LCD.
Replace the LCD protector
- Blue tab to the top right